Being on a healthy food kick, I try to avoid or reduce using oil, sugar and salt in my cooking but often times, this is almost impossible to achieve without resorting to boiling the ingredients in a pot of water.
I can eliminate the need for sugar and salt in my food, not oil as it prevents whatever I am cooking from getting burnt at the bottom, resulting in unnecessary cleaning afterwards. A representative from ProChef had kindly mailed me a couple of butter flavoured canola oil cans to try out at home which I have been using ever since.
For a start, excessive usage of oil can be avoided as one pump is sufficient to cover the base of a medium sized pan or pot. Boosting an inviting butter aroma, I cannot help but feel like I am indulging in my all time favourite sinful essence without the added calories.
As most of us know, these type of canisters are highly flammable and I would suggest not storing it too close to the cooking station and when spraying over a hot pan, to ensure that a decent distant is adhered to.
I have made teriyaki chicken using this oil and surprisingly, the buttery scent from the oil did not rub on the chicken but gave the veggies (which was cooked in a separate pot) a subtle aroma. I have then concluded that when using bolder aromatics or flavours, the butter scent would not interfere in the overall dish's flavour.
Was craving for some potato wedges and voila, got my wedges covered in a bit of oil before sending them into the oven. Now to wait until summer comes around again before I can use it on the barbeque :p
Showing posts with label home experimentation. Show all posts
Sunday, March 5, 2017
Thursday, August 20, 2015
Ipoh kai si hor fun recipe
I am nowhere near as adventurous when it comes to savoury food as opposed to making edible sweets. Rather, I tend to stick to simple, fool-proof recipes that won't make me cringe as I eat my way through it for the rest of the week.
This is a recipe that I have been meaning to attempt for the longest time but procrastinated, mainly due to the fact that I am not sure how it will turn out. Plus point is that it worked fine. Only downside is that prawns are not exactly a cheap ingredient. Be sure to keep track of prices prior to conjuring up this dish!
Ingredients:
Broth:
4 chicken carcasses - depending on how much stock you want
Enough water to cover the chicken carcasses
1kg tiger/ large-sized prawns
1. Bring chicken carcasses and water to a boil. Allow to simmer (this helps construct the soup's flavour profile). May take at least 1 hour. Season with salt and sugar.
2. De-shell and de-vein the prawns. Fry prawn shells in about 6 tbsp of oil until you get a vibrant orange colour in the oil. Press on the shells to extract more flavour.
3. Once soup is ready, add prawn shells and oil. Give it a good stir and allow to simmer for an extra 30 minutes.
4. Blanch chicken meat and prawns in soup until cooked. Set aside.
Assembly:
Shredded chicken meat
Prawns
Chives
Thin rice noodles
Chilli
Soy sauce
1. Soak rice noodles in hot water until it softens before cooking them in the soup.
2. Serve in a bowl, garnish with shredded chicken, prawns and chopped chives.
3. Thinly slice chilli and serve as a dipping sauce with soy sauce.
And that's about it really. Very simple and surprisingly good!:)
This is a recipe that I have been meaning to attempt for the longest time but procrastinated, mainly due to the fact that I am not sure how it will turn out. Plus point is that it worked fine. Only downside is that prawns are not exactly a cheap ingredient. Be sure to keep track of prices prior to conjuring up this dish!
Ingredients:
Broth:
4 chicken carcasses - depending on how much stock you want
Enough water to cover the chicken carcasses
1kg tiger/ large-sized prawns
1. Bring chicken carcasses and water to a boil. Allow to simmer (this helps construct the soup's flavour profile). May take at least 1 hour. Season with salt and sugar.
2. De-shell and de-vein the prawns. Fry prawn shells in about 6 tbsp of oil until you get a vibrant orange colour in the oil. Press on the shells to extract more flavour.
3. Once soup is ready, add prawn shells and oil. Give it a good stir and allow to simmer for an extra 30 minutes.
4. Blanch chicken meat and prawns in soup until cooked. Set aside.
Assembly:
Shredded chicken meat
Prawns
Chives
Thin rice noodles
Chilli
Soy sauce
1. Soak rice noodles in hot water until it softens before cooking them in the soup.
2. Serve in a bowl, garnish with shredded chicken, prawns and chopped chives.
3. Thinly slice chilli and serve as a dipping sauce with soy sauce.
And that's about it really. Very simple and surprisingly good!:)
Tuesday, July 28, 2015
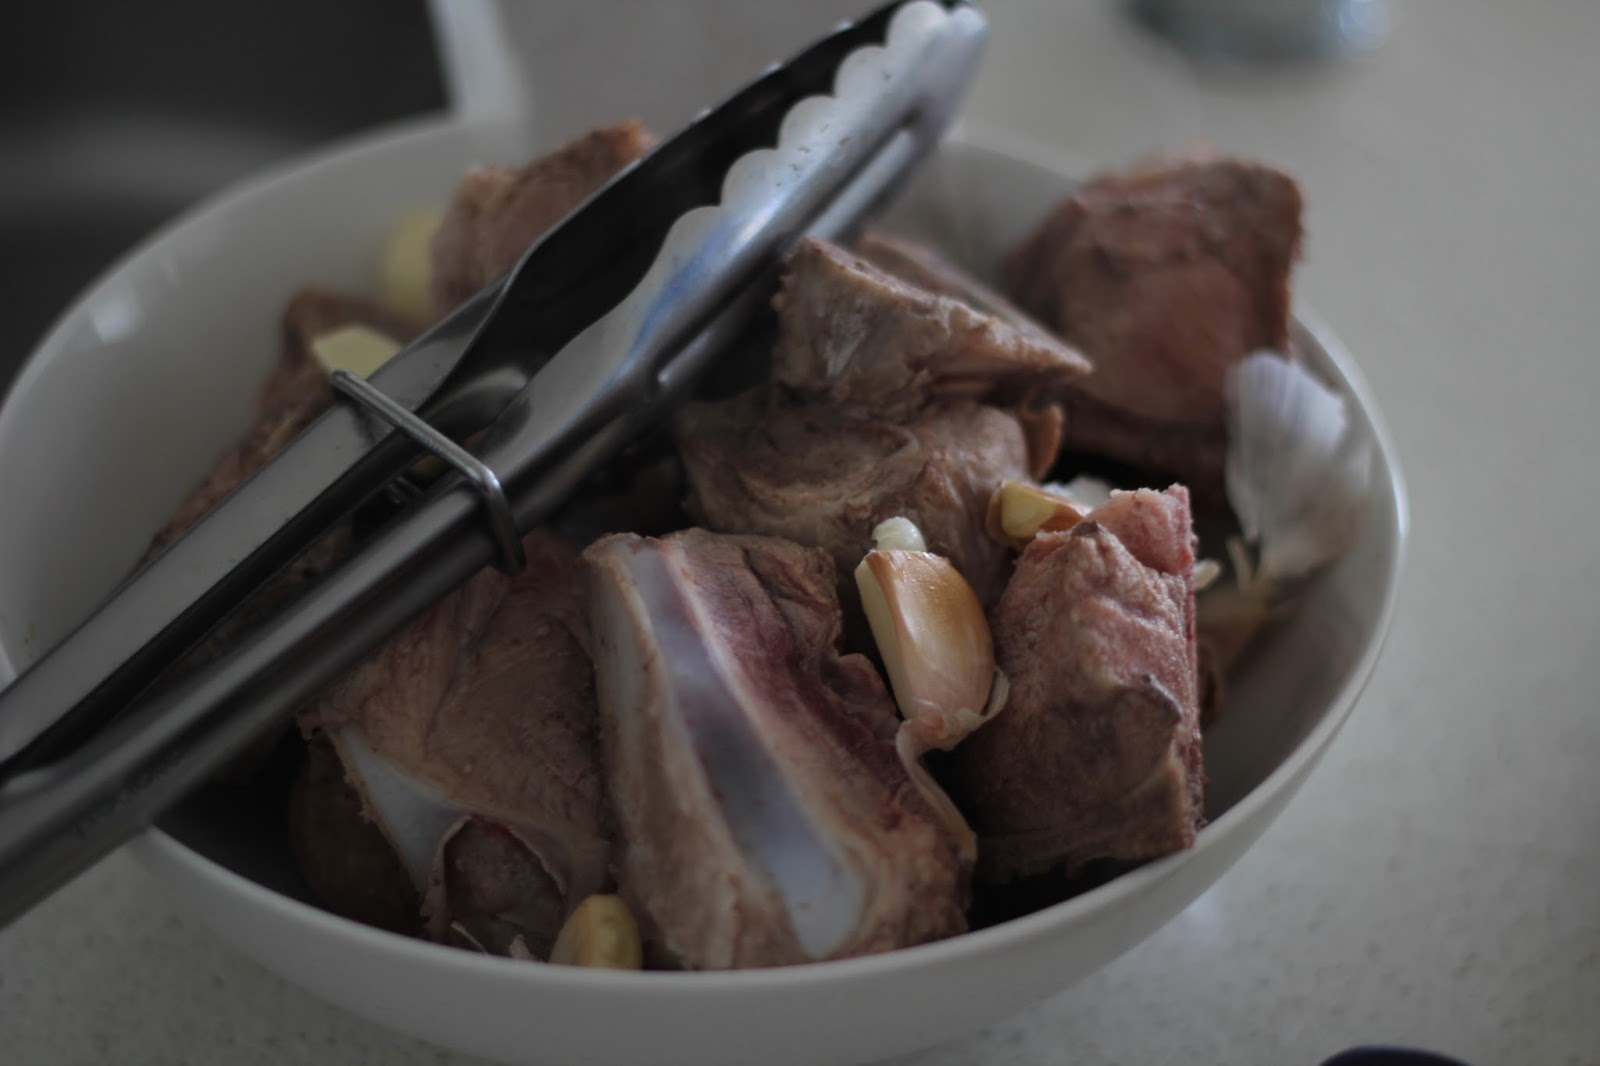
Bak Kut Teh recipe
I have made this dish a few times before but to my surprise, I have yet to blog about it. And I should as it is a pretty easy dish to make and one that you are meant to leave bubbling away.
Ingredients:
1 packet of bak kut teh herb mix (easily available at any Asian grocer)
8 cloves of garlic, smashed
1kg of pork ribs (can be a mix of ribs and meat)
Enough water to submerge the pork in (about 2L?)
1. Blanch the pork pieces in hot water for around 3-4 minutes or at least until the exterior appears cooked.
2. Bring a pot of water to boil.
3. Toss in pork pieces, garlic and the bak kut teh mix.
4. Allow to boil for around 1-2 hours on low heat - until the tea/ herb flavour is evident.
5. Season with soy sauce and salt.
I like to pair this soup mix with bok choy/ choy sum, bits of enoki mushroom, button mushroom, tofu pok (sponge-like texture, perfect for absorbing fluid), steamed rice and a bit of chilli and garlic in soy sauce.
Didn't I say it's simple? And it's also a great for sharing dish:)
Ingredients:
1 packet of bak kut teh herb mix (easily available at any Asian grocer)
8 cloves of garlic, smashed
1kg of pork ribs (can be a mix of ribs and meat)
Enough water to submerge the pork in (about 2L?)
1. Blanch the pork pieces in hot water for around 3-4 minutes or at least until the exterior appears cooked.
2. Bring a pot of water to boil.
3. Toss in pork pieces, garlic and the bak kut teh mix.
4. Allow to boil for around 1-2 hours on low heat - until the tea/ herb flavour is evident.
5. Season with soy sauce and salt.
I like to pair this soup mix with bok choy/ choy sum, bits of enoki mushroom, button mushroom, tofu pok (sponge-like texture, perfect for absorbing fluid), steamed rice and a bit of chilli and garlic in soy sauce.
Didn't I say it's simple? And it's also a great for sharing dish:)
Saturday, August 2, 2014
Herman the German fruit cake and Sherman the chocolate brownie recipe
Barossa valley is known to be one of the early places that German settlers have ventured into (aside from Hunter Valley in NSW) and so, it's not a surprise that German heritage runs through the veins of some locals here. We are fortunate to have bakeries like Apex that still bake their goods in a traditional oven and butchers that houses a good variety of traditional German sausages.
I may have been to Germany in the past but that memory is a vaguely faint to me and so, living in the Barossa gave me an interesting opportunity to have a teaser of what to expect from the winner of FIFA 2014. When I first tasted Herman, I thought it was one of the best cakes I have tasted so far which prompted me to grab a box of it and get straight into the recipe, in an attempt to recreate this delicacy.
Although I did not start making Herman myself, here's the recipe for making the starter. It is a lengthy waiting process but it is well worth it. Trust me;)
Herman the German starter mix ingredients:
5oz plain flour
8 oz caster sugar
1 packet of active dry yeast
Half a pint of warm milk
2 fl oz of warm water
1. Dissolve yeast in warm water for 10 minutes before slowly mixing in the flour and sugar
2. Slowly stir in the warm milk. Cover the bowl with a cloth and leave in a cool place for 1 day.
The next 10 days will be the waiting time:
Day 1- 3: stir well
Day 4: Add 1 cup of plain flour, sugar and milk each. Stir well
Day 5 - 8: Stir well
Day 9: Add 1 cup of plain flour, sugar and milk each. Stir well and divide into 4 equal portions (pass this on to someone!)
* I have shortened the days to 8 days as I got impatient and I halved the ingredients added for day 9. I NEED to bake the cake hehe.
Cake ingredients (for 2 round cake tins)
1 cup of sugar
2 cups of plain flour
Half tsp salt
2/3 cups of cooking oil (could substitute with melted butter)
2 eggs
2 tsp vanilla extract
2 granny smith apples/ pears, chopped into smaller chunks
1 cup raisins (used my leftover soaked raisin mix as seen here)
2 tsp cinnamon powder
1 portion of Herman starter mix
Topping:
1/4 cup brown sugar
1/4 cup melted butter
Mix cake ingredients together in a bowl and pour into a lined cake tin. Pour your topping mix over the top (or add a crumble mix if you like) and bake at 160C for 1 hour or until done.
Verdict: loved every bit of it and I thought that using leftover raisin mix that had been soaked for at least 6 months in rum made the cake a lil more fragrant. Herman mix already had a nice boozy aroma and I think its best served warm:)
And because I had "adopted" another box of Herman as nobody wanted it, let's call it Sherman and make him into a chocolate cake. Have read that Herman is a very forgiving type of cake to bake and can be used to create any cake varieties that you can imagine:)
Chocolate Sherman cake ingredients (makes 2 round cake tins or 1 long rectangle brownie tin):
3/4 cup melted butter
1 cup white sugar
1 cup brown sugar
4 eggs
1 cup unsweetened cocoa powder
1 cup self raising flour
1/2 cup milk
1 tsp salt
2 tsp kahlua (or vanilla if you prefer a non boozy option - I just had some in the fridge!:)
1 cup mix of dark and white chocolate chunks
1.5 cups of Herman starter mix
Mix everything together and pour into your lined baking tins. Bake at 160C for about 1 hour or until it appears almost done.
*as this is akin to a brownie recipe, I decided to bake it until it is about 90% done and left it to cool in the oven. I like my brownies to have a slightly fudge-y cake texture.
Do give this a try and let me know how you went. I am sure you won't be disappointed:)
I may have been to Germany in the past but that memory is a vaguely faint to me and so, living in the Barossa gave me an interesting opportunity to have a teaser of what to expect from the winner of FIFA 2014. When I first tasted Herman, I thought it was one of the best cakes I have tasted so far which prompted me to grab a box of it and get straight into the recipe, in an attempt to recreate this delicacy.
Although I did not start making Herman myself, here's the recipe for making the starter. It is a lengthy waiting process but it is well worth it. Trust me;)
Herman the German starter mix ingredients:
5oz plain flour
8 oz caster sugar
1 packet of active dry yeast
Half a pint of warm milk
2 fl oz of warm water
1. Dissolve yeast in warm water for 10 minutes before slowly mixing in the flour and sugar
2. Slowly stir in the warm milk. Cover the bowl with a cloth and leave in a cool place for 1 day.
The next 10 days will be the waiting time:
Day 1- 3: stir well
Day 4: Add 1 cup of plain flour, sugar and milk each. Stir well
Day 5 - 8: Stir well
Day 9: Add 1 cup of plain flour, sugar and milk each. Stir well and divide into 4 equal portions (pass this on to someone!)
* I have shortened the days to 8 days as I got impatient and I halved the ingredients added for day 9. I NEED to bake the cake hehe.
Cake ingredients (for 2 round cake tins)
1 cup of sugar
2 cups of plain flour
Half tsp salt
2/3 cups of cooking oil (could substitute with melted butter)
2 eggs
2 tsp vanilla extract
2 granny smith apples/ pears, chopped into smaller chunks
1 cup raisins (used my leftover soaked raisin mix as seen here)
2 tsp cinnamon powder
1 portion of Herman starter mix
Topping:
1/4 cup brown sugar
1/4 cup melted butter
Mix cake ingredients together in a bowl and pour into a lined cake tin. Pour your topping mix over the top (or add a crumble mix if you like) and bake at 160C for 1 hour or until done.
Verdict: loved every bit of it and I thought that using leftover raisin mix that had been soaked for at least 6 months in rum made the cake a lil more fragrant. Herman mix already had a nice boozy aroma and I think its best served warm:)
And because I had "adopted" another box of Herman as nobody wanted it, let's call it Sherman and make him into a chocolate cake. Have read that Herman is a very forgiving type of cake to bake and can be used to create any cake varieties that you can imagine:)
Chocolate Sherman cake ingredients (makes 2 round cake tins or 1 long rectangle brownie tin):
3/4 cup melted butter
1 cup white sugar
1 cup brown sugar
4 eggs
1 cup unsweetened cocoa powder
1 cup self raising flour
1/2 cup milk
1 tsp salt
2 tsp kahlua (or vanilla if you prefer a non boozy option - I just had some in the fridge!:)
1 cup mix of dark and white chocolate chunks
1.5 cups of Herman starter mix
Mix everything together and pour into your lined baking tins. Bake at 160C for about 1 hour or until it appears almost done.
*as this is akin to a brownie recipe, I decided to bake it until it is about 90% done and left it to cool in the oven. I like my brownies to have a slightly fudge-y cake texture.
Do give this a try and let me know how you went. I am sure you won't be disappointed:)
Saturday, June 14, 2014
Basic sweet shortcrust pastry recipe
Pastry making is one part of baking that intrigues me despite it being a time consuming and laborious task to manage. It's probably one of those duties that when performed right, it's a keeper for the rest of your baking career (well, unless if you stumbled upon a better method).
For me personally, I have tried various recipes which all yield good results but somehow does not scream the wow factor. Maybe I am being fussy here or maybe I am not doing the right thing. Eitherways, I will continue to look out for a winner of a recipe.
Last week, I had the opportunity to bake a chocolate tart to which, I immediately jumped at that opportunity because 1) its winter and so, the perfect weather for handling pastry 2) I have been wanting to try out a particular recipe.
This recipe belongs to the Masterchef Australia archives when Marco Pierre White was in town. I only used his pastry recipe (with minor alterations) but maybe next time, I shall use the entire recipe. I incorporated spice into the pastry for that extra bit of flavour and it worked out well.
Ingredients:
200g butter
80g icing
2 egg yolks
290g plain flour
10g chai powder
A tbsp of cold water
1. Cream butter and sugar in a food processor until it appears smooth and pale.
2. slowly add your egg yolks to the mixture whilst still mixing it.
3. Sift flour and chai powder together, slowly add it to the butter mixture. Add the water if needed for extra moisture.
4. Clingwrap and refridgerate for 2 hours. Roll out pastry into pastry tin before chilling it in the fridge for an extra hour.
5. Bake at 180C for 15 minutes, remove metal beans and drop temperature to 160C for 15 minutes.
As you can see, my chocolate filling is alright, not as smooth as I would have liked it to be. I did not use any cream based products to make it and relied heavily on the timing for mixing everything together. Raspberries work really well with chocolate despite me using frozen raspberries. Have crumbed the extra baked pastry pieces for garnish.
Not too bad overall and would give this another crack in the future!:)
For me personally, I have tried various recipes which all yield good results but somehow does not scream the wow factor. Maybe I am being fussy here or maybe I am not doing the right thing. Eitherways, I will continue to look out for a winner of a recipe.
Last week, I had the opportunity to bake a chocolate tart to which, I immediately jumped at that opportunity because 1) its winter and so, the perfect weather for handling pastry 2) I have been wanting to try out a particular recipe.
This recipe belongs to the Masterchef Australia archives when Marco Pierre White was in town. I only used his pastry recipe (with minor alterations) but maybe next time, I shall use the entire recipe. I incorporated spice into the pastry for that extra bit of flavour and it worked out well.
Ingredients:
200g butter
80g icing
2 egg yolks
290g plain flour
10g chai powder
A tbsp of cold water
1. Cream butter and sugar in a food processor until it appears smooth and pale.
2. slowly add your egg yolks to the mixture whilst still mixing it.
3. Sift flour and chai powder together, slowly add it to the butter mixture. Add the water if needed for extra moisture.
4. Clingwrap and refridgerate for 2 hours. Roll out pastry into pastry tin before chilling it in the fridge for an extra hour.
5. Bake at 180C for 15 minutes, remove metal beans and drop temperature to 160C for 15 minutes.
As you can see, my chocolate filling is alright, not as smooth as I would have liked it to be. I did not use any cream based products to make it and relied heavily on the timing for mixing everything together. Raspberries work really well with chocolate despite me using frozen raspberries. Have crumbed the extra baked pastry pieces for garnish.
Not too bad overall and would give this another crack in the future!:)
Sunday, June 8, 2014
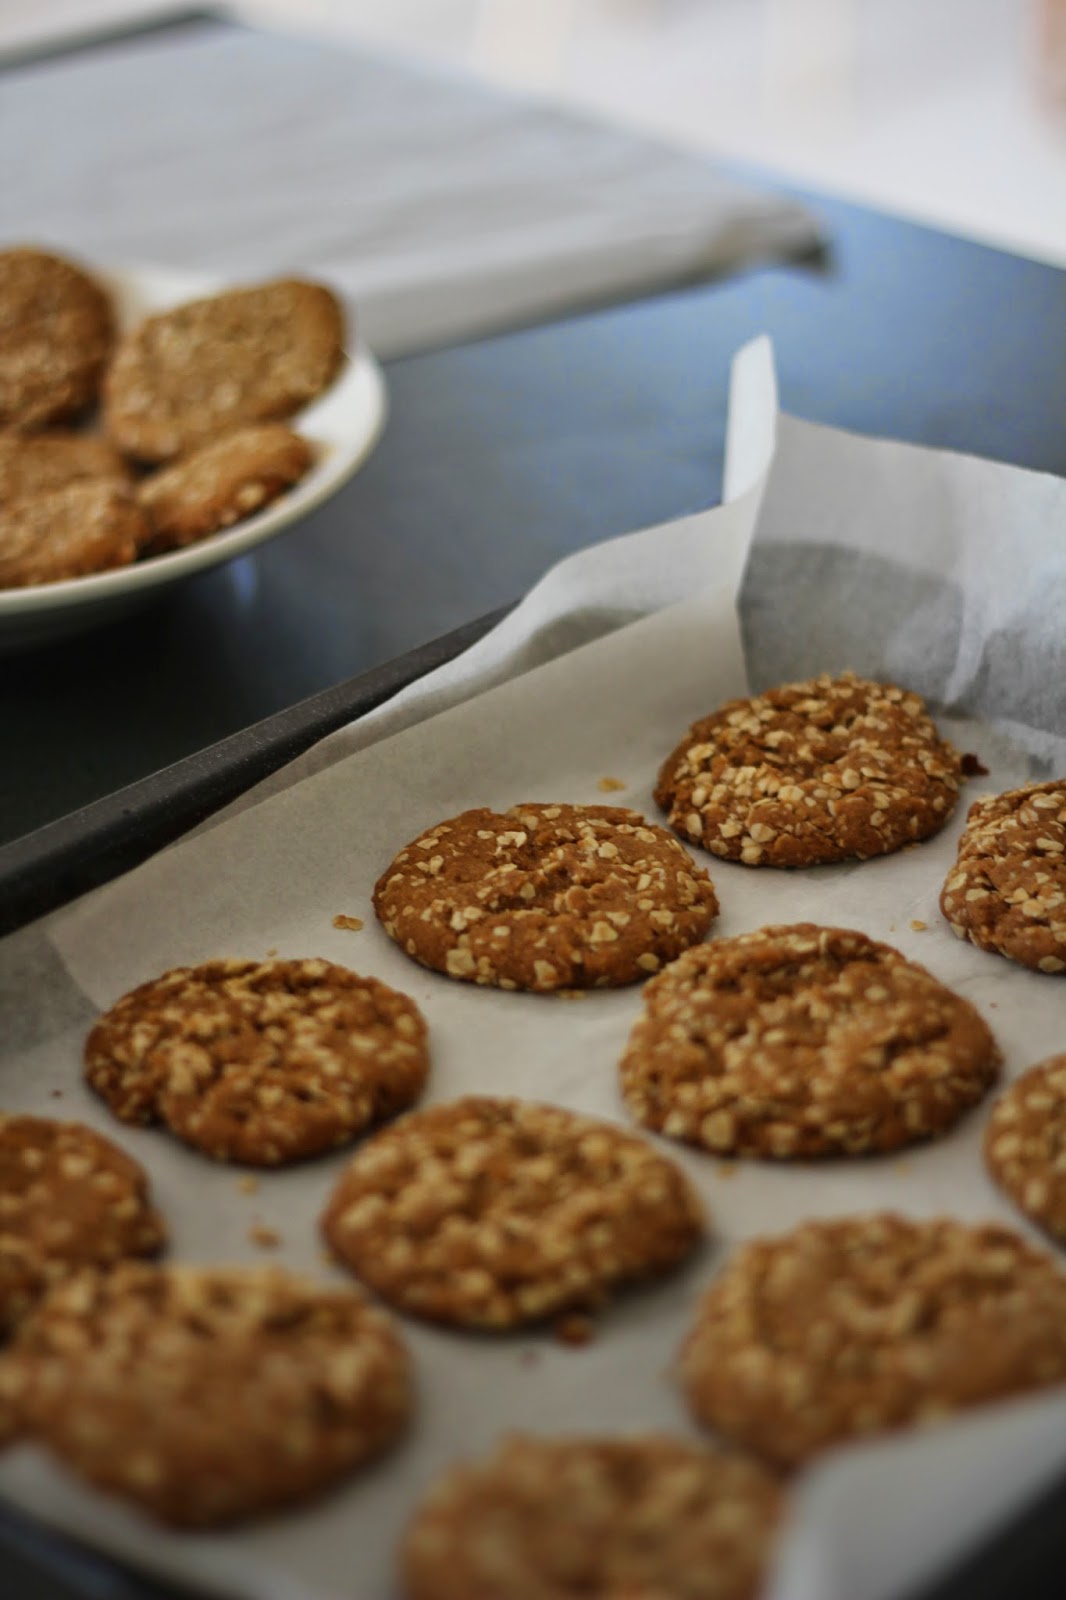
Anzac cookies recipe
Anzac day was approximately 7 weeks ago and boy, was I stuffing my face with Anzac cookies at work, courtesy of a fellow colleague. Previous attempts at making my own batch of cookies were ermm..let's just say a little excessively crunchy and chunky shall we. Big disappointment as it was difficult to down and I had to throw some away because it becomes more sold as the days pass.
And so, I have avoided baking Anzac cookies for fear of rejection. Yes, I do get upset when whatever I try to cook/bake is not of acceptable standards. Fast forward time, I have a bottle of golden syrup sitting in the fridge to which, I have no idea what to do with it. Tried googling up for recipes but nothing appealing appeared. Alas, I succumbed to having another trial at baking these cookies but this time, I was wise enough to obtain the recipe from a reliable source.
Ingredients:
90g rolled oats
150g plain flour
220g brown sugar
40g dessicated coconut
125g butter
2 tbsp golden syrup
1 tbsp water
1/2 tsp bicarbonate soda
1. Mix oats, flour, brown sugar and dessicated coconut together in a clean mixing bowl.
2. Place butter, golden syrup and water in a saucepan over low heat, allow butter to melt. Once the butter and syrup appears to be combined well in the saucepan, add your bicarbonate soda and quickly stir. Turn off the flame.
3. Pour 3/4 of the warm mixture to 3/4 of the oat mixture and quickly stir for even distribution. Add the remainder 1/4 of the slightly cooled mixture to 1/4 of the oat mixture.
4. Shape the 3/4 warm mixture into ball like shapes and place a really thin layer of the 1/4 cooled mixture around it. Flatten slightly.
5. Place them about 4cm apart and bake at 160C for 20 minutes. Remove from oven and allow to cool.
*I find that in the warm mixture, the oats tend to be cooked, creating that chewy, gooey consistency whilst in the cooled mixture, the oats are not as cooked and so, take on a crispier texture.
And so, I have avoided baking Anzac cookies for fear of rejection. Yes, I do get upset when whatever I try to cook/bake is not of acceptable standards. Fast forward time, I have a bottle of golden syrup sitting in the fridge to which, I have no idea what to do with it. Tried googling up for recipes but nothing appealing appeared. Alas, I succumbed to having another trial at baking these cookies but this time, I was wise enough to obtain the recipe from a reliable source.
Ingredients:
90g rolled oats
150g plain flour
220g brown sugar
40g dessicated coconut
125g butter
2 tbsp golden syrup
1 tbsp water
1/2 tsp bicarbonate soda
1. Mix oats, flour, brown sugar and dessicated coconut together in a clean mixing bowl.
2. Place butter, golden syrup and water in a saucepan over low heat, allow butter to melt. Once the butter and syrup appears to be combined well in the saucepan, add your bicarbonate soda and quickly stir. Turn off the flame.
3. Pour 3/4 of the warm mixture to 3/4 of the oat mixture and quickly stir for even distribution. Add the remainder 1/4 of the slightly cooled mixture to 1/4 of the oat mixture.
4. Shape the 3/4 warm mixture into ball like shapes and place a really thin layer of the 1/4 cooled mixture around it. Flatten slightly.
5. Place them about 4cm apart and bake at 160C for 20 minutes. Remove from oven and allow to cool.
*I find that in the warm mixture, the oats tend to be cooked, creating that chewy, gooey consistency whilst in the cooled mixture, the oats are not as cooked and so, take on a crispier texture.
Thursday, June 5, 2014
The smoothie edition: recipes and a true story
I have toyed with the idea of fruit and vege smoothies ever since my dad first introduced this concept to me during my short visit back in Malaysia. The sister and I howled at how odd and "interesting" these smoothies will/ can taste like and so, we can safely assume that I have put that thought aside.
Fast forward a few months later, I begun to notice that I needed a healthier diet plan which incorporates the various vitamins available from veges and fruits. Sure I do have a few slices of fruit or nibble away at cucumbers but somehow, I felt that this was insufficient. I was then motivated to reflect on my dad's smoothies and decided to give it a go.
And so, I have tried a few fruit and vege combinations to which, I can now say have changed my life completely. Not only do I feel healthier but I also noticed visible physical changes such as healthier nails and improvements in my complexion. After gulping down a large cup of smoothie, I do not get hungry easily and so, was able to have better control over my diet. No sugar added to all of these concoctions which made them a really healthy alternative.
Needless to say, I begun with products that are in season for price reasons. A whole celery could last me for a week and the same can be said about a bag of carrots. I have also purchased two bags of frozen fruit because it was a lot more affordable compared to the fresh versions and have felt no difference whatsoever with them. However, I would encourage getting a good brand for these frozen products as it will last much longer. Without further ado, here is a mini compilation of the combinations that I have came up with. Feel free to mix and match based on your preference!
Red smoothie:
1 tomato
1 carrot
A handful of frozen raspberries
Blend everything together until it looks almost smooth. Be careful with overblending.
Green monster smoothie:
1 stalk of celery
A handful of baby spinach
1 carrot
1 banana
This was probably my least favourite combination because it was a little too green for my liking. Nonetheless, you may add honey if you wanted to (I just didn't have any!).
Chunky smoothie:
1 banana
1 apple
1 carrot
1 stalk of celery
This is by far one of my favourite mix so far. Not too sweet, has a bit of crunch to it and ingredients wise, easily available in most seasons.
Sweet orange smoothie:
A handful of frozen or fresh mango pieces
1 carrot
1 banana
I loved the colour intensity of this one but if possible, I would like to try adding more veges in it. Still in the experimenting process but tasty nonetheless.
Hopefully I have inspired most of you to give this idea a try if you are not doing so yourself already. You can add yoghurt, milk or spices to it based on your preference. I will blog about more experiments next time so stay tuned
Fast forward a few months later, I begun to notice that I needed a healthier diet plan which incorporates the various vitamins available from veges and fruits. Sure I do have a few slices of fruit or nibble away at cucumbers but somehow, I felt that this was insufficient. I was then motivated to reflect on my dad's smoothies and decided to give it a go.
And so, I have tried a few fruit and vege combinations to which, I can now say have changed my life completely. Not only do I feel healthier but I also noticed visible physical changes such as healthier nails and improvements in my complexion. After gulping down a large cup of smoothie, I do not get hungry easily and so, was able to have better control over my diet. No sugar added to all of these concoctions which made them a really healthy alternative.
Needless to say, I begun with products that are in season for price reasons. A whole celery could last me for a week and the same can be said about a bag of carrots. I have also purchased two bags of frozen fruit because it was a lot more affordable compared to the fresh versions and have felt no difference whatsoever with them. However, I would encourage getting a good brand for these frozen products as it will last much longer. Without further ado, here is a mini compilation of the combinations that I have came up with. Feel free to mix and match based on your preference!
Red smoothie:
1 tomato
1 carrot
A handful of frozen raspberries
Blend everything together until it looks almost smooth. Be careful with overblending.
Green monster smoothie:
1 stalk of celery
A handful of baby spinach
1 carrot
1 banana
This was probably my least favourite combination because it was a little too green for my liking. Nonetheless, you may add honey if you wanted to (I just didn't have any!).
Chunky smoothie:
1 banana
1 apple
1 carrot
1 stalk of celery
This is by far one of my favourite mix so far. Not too sweet, has a bit of crunch to it and ingredients wise, easily available in most seasons.
Sweet orange smoothie:
A handful of frozen or fresh mango pieces
1 carrot
1 banana
I loved the colour intensity of this one but if possible, I would like to try adding more veges in it. Still in the experimenting process but tasty nonetheless.
Hopefully I have inspired most of you to give this idea a try if you are not doing so yourself already. You can add yoghurt, milk or spices to it based on your preference. I will blog about more experiments next time so stay tuned
Saturday, March 15, 2014
Salad 101: Pumpkin and apple quinoa salad recipe
Salads have always been an alien term to me as I cannot seem to find an appreciation for a bowl of leaves sprinkled with colour. Not that I am against it but I think a good salad has to be prepared with lots of thought on the flavour combinations as well as smart play on textures.
I am beginning to play with the idea of preparing salads for lunch these days and so far, have conjured up a handful of recipes that may be a success if done well. What I liked about this salad is that it has a nice balance of sweetness from the pumpkin and apple which lends flavour to the quinoa and spinach leaves whilst the balsamic vinaigrette provided the much needed acidity to it.
Ingredients (serves 2):
600g pumpkin, cubed
1/2 cup of quinoa
2 apples, cubed
700g spinach leaves
1. Roast pumpkin rubbed with olive oil and sea salt at 150C for 25 minutes or until it softens slightly.
2. Wash quinoa and cook it as you do with rice.
3. Soak cubed apples in 1 tsp of honey dissolved in about 500ml of water. This reduces the rate at which the apple browns.
4. Wash spinach leaves.
Vinaigrette ingredients:
10ml of good quality olive oil
1 tsp of dijon mustard
2 tbsp of good quality balsamic vinegar
Salt, pepper and sugar to taste
1. Whisk ingredients together whilst slowly incorporating the olive oil. Set aside when ready to dress the salad.
It was that simple and to dress the salad, I placed all the ingredients in a suitable sized container, closed it and gave it a good shake to distribute the flavours. Pretty easy and surely a crowd winner:)
I am beginning to play with the idea of preparing salads for lunch these days and so far, have conjured up a handful of recipes that may be a success if done well. What I liked about this salad is that it has a nice balance of sweetness from the pumpkin and apple which lends flavour to the quinoa and spinach leaves whilst the balsamic vinaigrette provided the much needed acidity to it.
Ingredients (serves 2):
600g pumpkin, cubed
1/2 cup of quinoa
2 apples, cubed
700g spinach leaves
1. Roast pumpkin rubbed with olive oil and sea salt at 150C for 25 minutes or until it softens slightly.
2. Wash quinoa and cook it as you do with rice.
3. Soak cubed apples in 1 tsp of honey dissolved in about 500ml of water. This reduces the rate at which the apple browns.
4. Wash spinach leaves.
Vinaigrette ingredients:
10ml of good quality olive oil
1 tsp of dijon mustard
2 tbsp of good quality balsamic vinegar
Salt, pepper and sugar to taste
1. Whisk ingredients together whilst slowly incorporating the olive oil. Set aside when ready to dress the salad.
It was that simple and to dress the salad, I placed all the ingredients in a suitable sized container, closed it and gave it a good shake to distribute the flavours. Pretty easy and surely a crowd winner:)
Subscribe to:
Posts (Atom)